


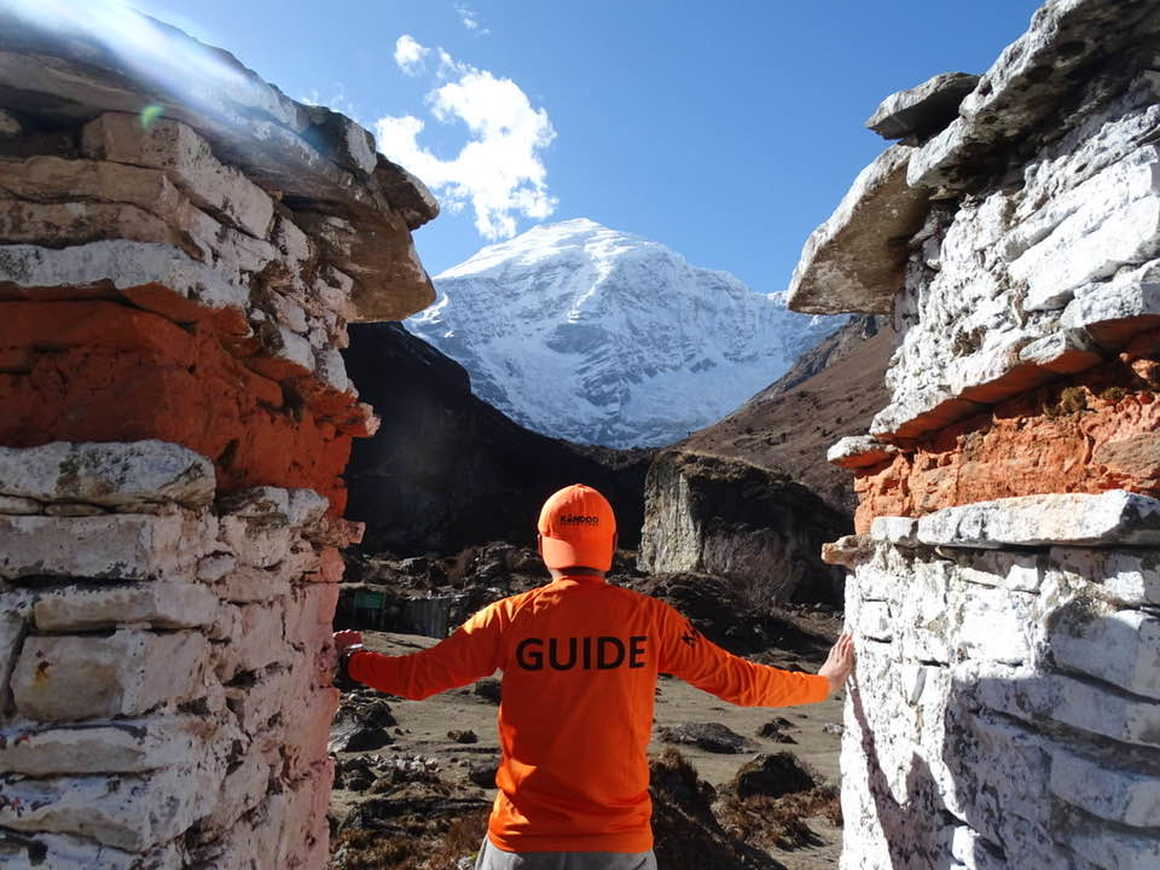
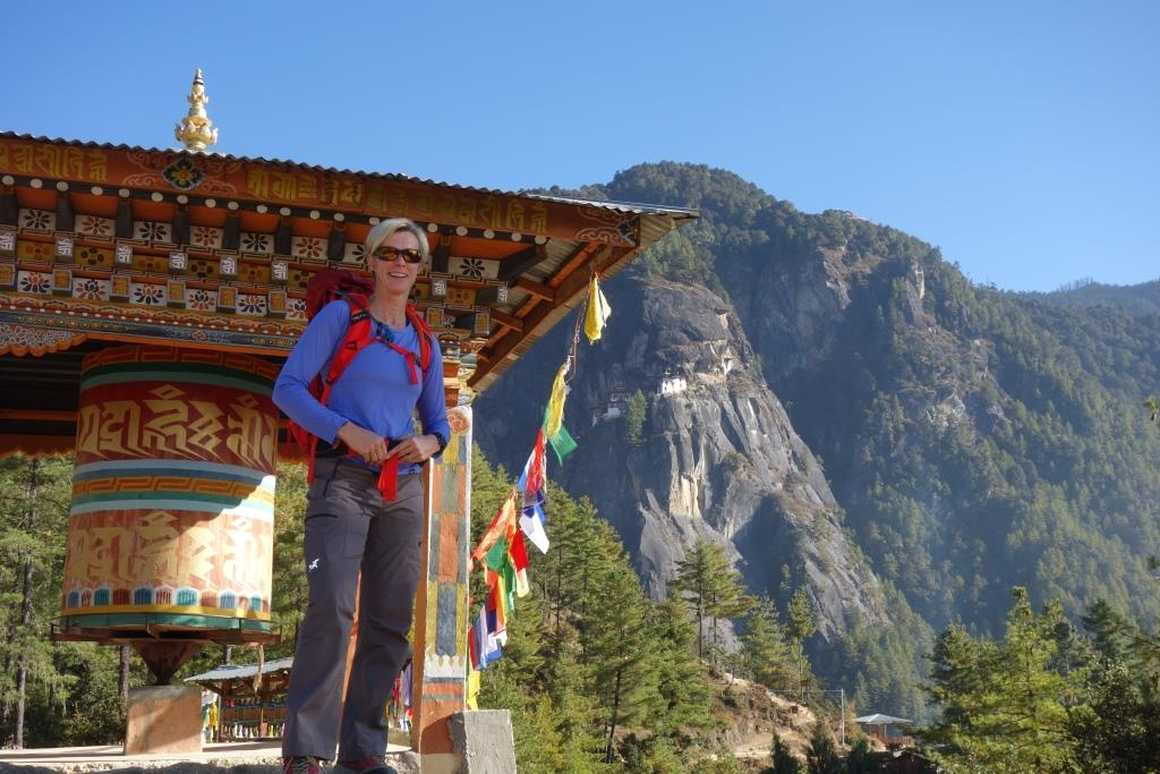
If Machu Picchu takes the honours for the world’s best cultural trekking destination, then the hike to Tiger’s Nest monastery in Bhutan must run it a very close second.
Perched 700m up a near vertical cliff, towering over the Paro valley, the magical monastery has become the biggest tourist attraction in the whole of Bhutan.
Nearly everyone coming to Bhutan arrives at Paro which is the country’s only international airport. Although there is a town of Paro this is very small and the population of 70,000 is widely spread over a long valley covering over 20 miles.
Here are our top tips for anyone one planning to hike to the Tiger's Nest Monastery in Bhutan.
Planning to visit Bhutan? Check out our tours of the best treks in Bhutan.
More Haste, Less Speed
The Paro valley sits at an altitude of over 2000m and the start of the hike is about 20 minutes’ drive with a switchback road taking you up to the base camp at 2700m. The distance to the monastery itself, which sits at 3200m is about 3 miles.
Our first tip for hikers to the Tiger’s Nest therefore is to be careful about how fast you go. Even in the valley oxygen levels are only 80% of what they would be at sea level and by the time you reach the monastery oxygen levels are down to about 70%. This is particularly an issue if you are planning the hike on your first day off the plane as, even at these levels, altitude sickness is not uncommon. If your itinerary allows, it is well worth leaving your hike to later in your trip when you have had a chance to get used to the altitude.
Early or Late Starts Are Best
The second tip is to choose your time of day carefully. Unsurprisingly the Tiger’s Nest is very popular and this is not just with experienced hikers but with all the tourists visiting Bhutan. And with 80% of tourists being aged 50-70 that means a lot of slow moving traffic on the path at busy times of day. This is made worse by the fact that you can hire a donkey to take you part way up the trail. Sharing the trail with donkeys and lots of other walkers on dry hot days is not fun, not least because this makes for a lot of dust.
Starting earlier or later in the day is a great way to avoid these problems but you need to remember the monastery effectively shuts at 4.30pm so make sure to allow for enough time so you don’t miss visiting inside. More on timings later.
Sunny Vistas Make Better Photographs
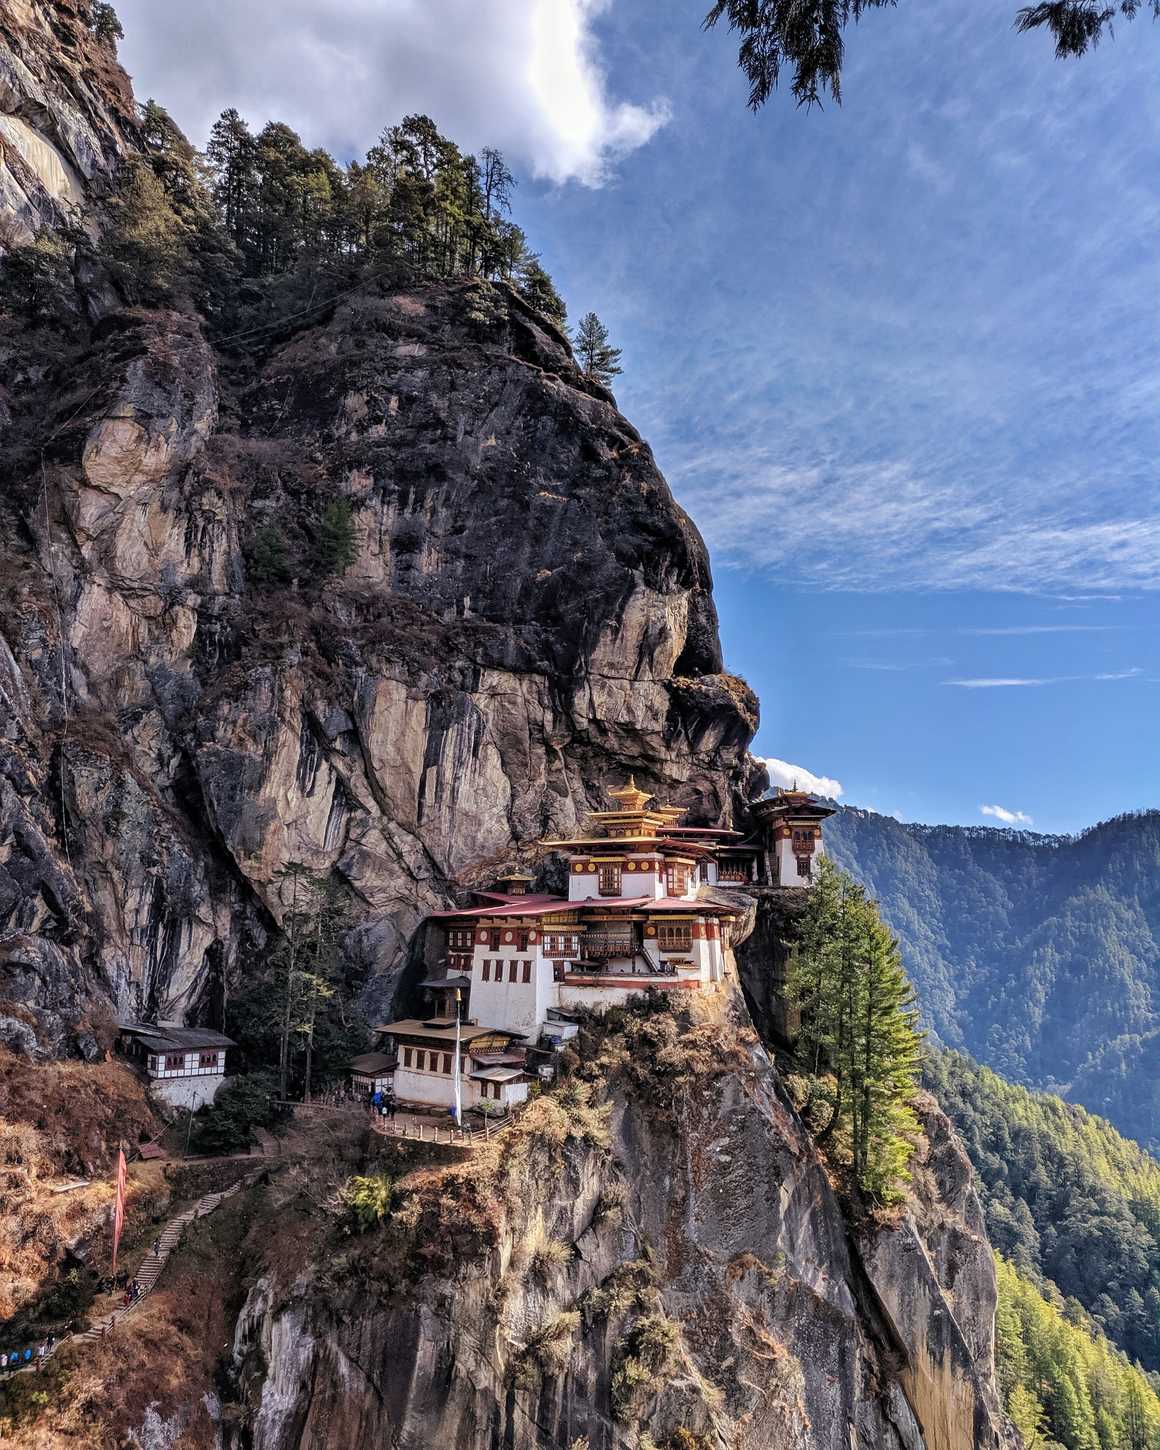
Our third tip for a great hike to the Tiger’s Nest is to think about where the sun will be when you reach the monastery. The Tiger’s Nest sits on a rock face that runs East-West. Until mid-morning the sun is behind the monastery and the gorgeous reds and golds you have seen in the photos are quite subdued. In the afternoon, the sun shines directly onto the monastery and this is when it looks its most spectacular best.
Choose Your Shortcuts Wisely
From the bottom of the valley where the trek begins the monastery seems little more than a white blemish on the grey rock face. As you climb though, the forests open occasionally giving ever more enticing glimpses of Tiger’s Nest itself encouraging even weaker hikers to persevere.
The trail rises quickly from the car park and is very steep in places. There a couple of shortcuts that are even steeper but do have the benefit of taking you away from the donkeys and crowds. The first and most extreme heads off immediately above the first waterfall and prayer wheel. This is the trail used by the staff at the half way cafeteria and, on the ascent, is really only for the very fit. The other shortcuts are more moderate and definitely worth trying. They are all pretty obvious as you hike the main trail.
Allow Sufficient Time
How long it will take you to hike all the way to the Tiger’s Nest is obviously a matter of pace. The guides generally say 3 hours for the ascent and 2 hours for the descent. But remember that most tourists are older and slower. On our most recent trip we hiked up and down in 2 ½ hours stopping for a drink at the cafeteria and lots of photos but without going into the monastery itself. (We had gone back for a second look in the afternoon of the same week). If you are viewing inside the monastery allow up to an hour.
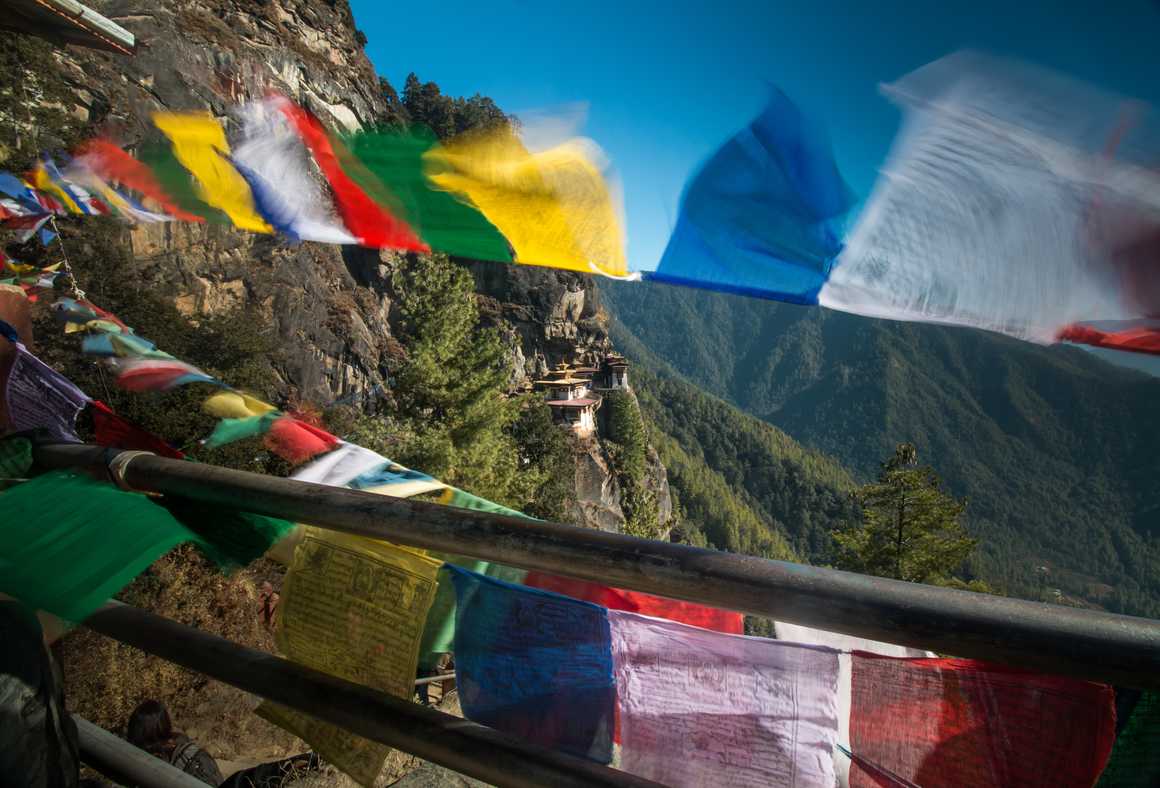
Grab A Drink At The Half-Way Point
The half way point is marked by a small cafeteria offering a good range of drinks and more importantly one of the best early views of the monastery. Unless you are on a route-march it is well worth stopping here to take in the view and atmosphere. If you have started early though don’t stop too long as the crowds will not be far behind.
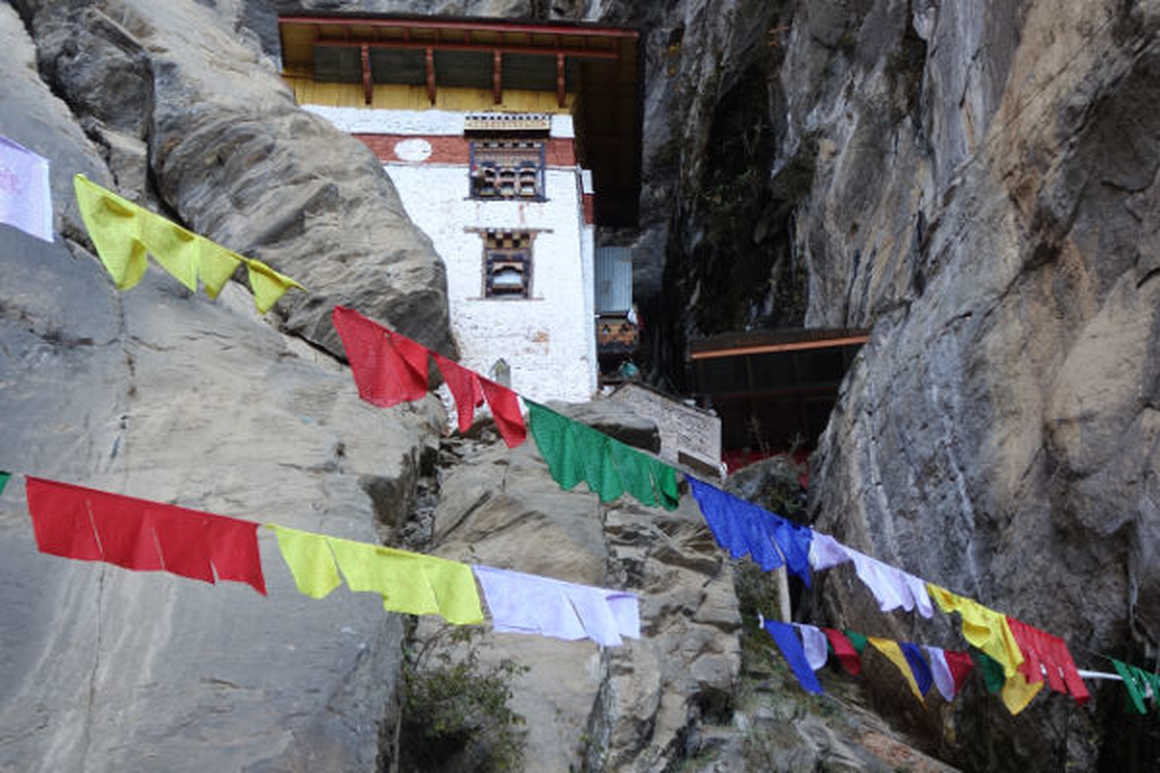
From the cafeteria, the route carries on steeply upwards with views of Tiger’s Nest at nearly every turn. You finally reach the ridge opposite the monastery where you drop down steep flights of stone stairs before crossing over for a short steep climb up to enter the Tiger’s Nest itself. These stairs are tricky in dry weather and would require real care if it was wet so make sure your shoes have a good grip.
Respect Local Customs
There is lots of stuff elsewhere on the history of the Tiger’s Nest, how Guru Rinpoche flew here on the back of a tigress in the 8th century and that is how it got its name but whoever you climb with will fill you in on all of this. Be warned though, the Bhutanese have a very literal interpretation of their mythology and its sometimes a little confusing to find that your guide is a frequent user of Facebook yet fervently believes in flying tigers!
Please remember that in the monastery you are not allowed cameras or shoes. It’s well worth making sure you have socks on as otherMwise you will have very cold and dirty feet.
Beware Of The Stairs
The descent from the Tiger’s Nest is not to be taken lightly. The steep steps have to be negotiated in reverse and the loose dust on the main trail makes for slippery conditions underfoot. For this reason, taking the hiker only shortcuts are a great idea on the way down even if you avoided them going up. And if you are really adventurous sneak behind the cafeteria and take the staff route down. Guaranteed no other trekkers and a great work out for the knees.